7 Steps to Build a Homemade Brooder Box for Chicks
If you’re raising chicks, you know how tricky it can be to create a safe, cozy space for them to grow. You’re not alone—many people struggle with finding the right setup that keeps their little ones warm and comfortable without breaking the bank. That’s why a homemade brooder box is such a great solution.
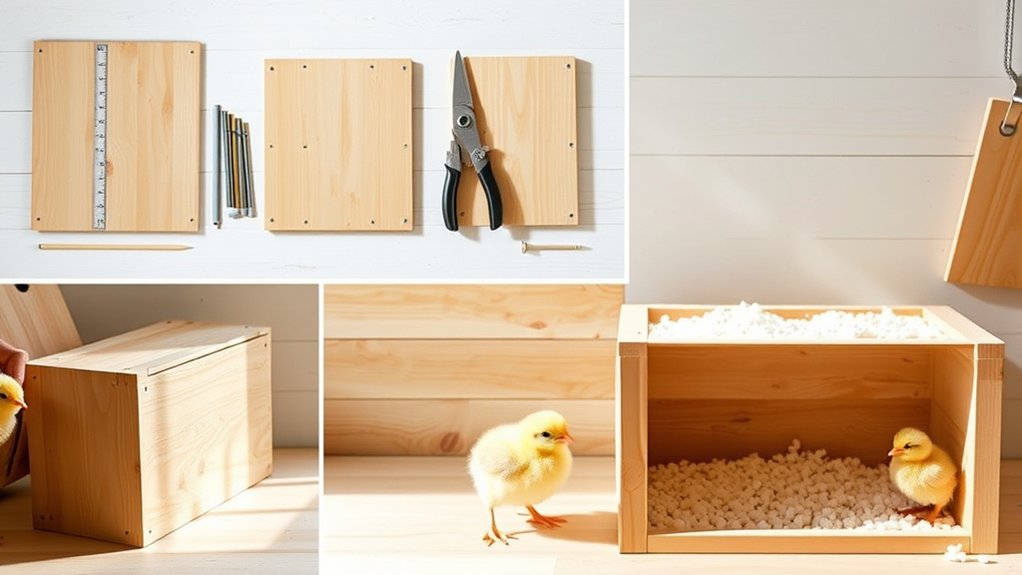
To build a homemade brooder box for your chicks, start by choosing sturdy, non-toxic materials like plywood or pine. Size it to allow about 0.5 sq ft per chick, ideally in a rectangular shape for easy access to feeders.
Construct a solid, stable base and secure walls, then add adjustable vents for airflow. Position a heat lamp safely on one side, with food and water opposite. Layer absorbent bedding for cleanliness.
Keep going to uncover tips for perfecting your brooder setup.
Key Takeaways
- Select durable, non-toxic materials like plywood or pine for a safe, sturdy brooder box frame.
- Design a rectangular or square box providing at least 0.5 sq ft per chick for space and warmth.
- Build a stable base and secure walls with strong screws and corner braces to prevent wobbling and drafts.
- Install adjustable screened vents for ventilation and position a heat lamp on one side for temperature control.
- Place feeders and water away from heat, use absorbent bedding, and ensure easy cleaning and access.
What Is a Brooder Box and Why Build One?
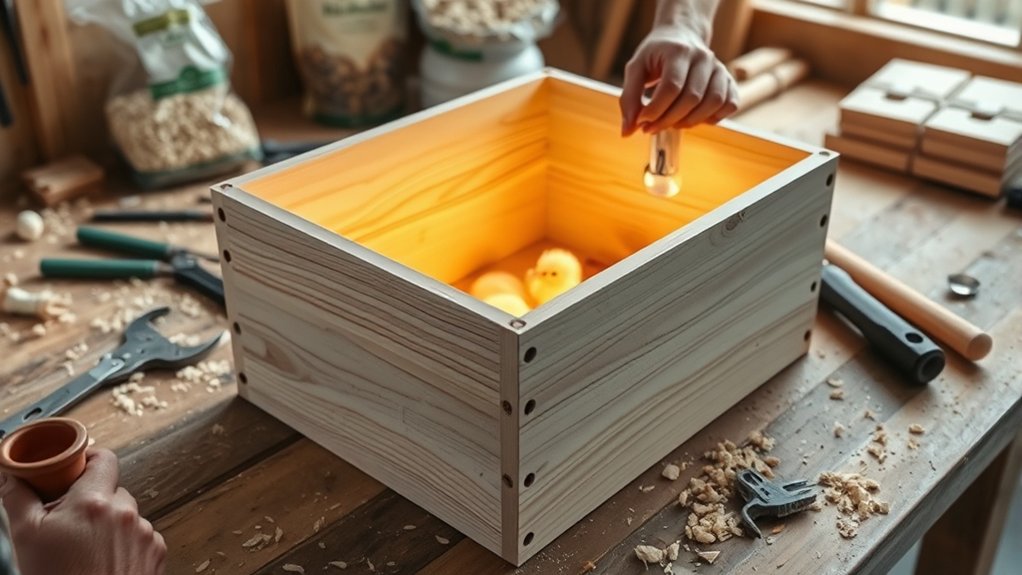
Although you might be enthusiastic to raise chicks, you’ll need a brooder box first. A brooder box provides a safe, warm environment essential for young chicks to thrive. It offers temperature regulation, which is critical since chicks can’t control their body heat initially.
A brooder box is essential for providing young chicks with warmth and safety in their early days.
Without proper warmth, they risk chilling, which can lead to illness or death. Using a brooder box helps you maintain consistent heat, usually through heat lamps or pads, mimicking the mother hen’s natural warmth.
Besides temperature control, a brooder box offers predator protection. It creates a secure space where chicks are shielded from household pets, wild animals, and other dangers.
You’ll also find it easier to monitor their health and behavior in one contained area. Building your own brooder box means you can customize the size and features to suit your needs, ensuring your chicks grow safely and comfortably during their critical first weeks.
Choose Materials for Your Brooder Box
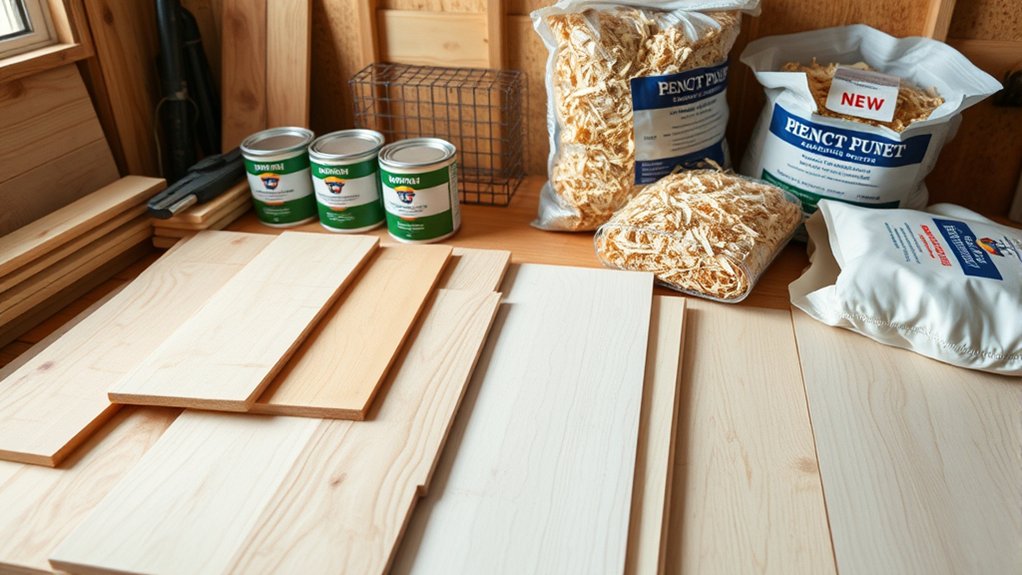
You’ll want to pick materials that are sturdy enough to hold up over time and safe for your chicks. Make sure to avoid anything treated with harmful chemicals or toxins since those could hurt their health. Choosing the right materials really sets the foundation for a secure and comfortable brooder box.
Durable Material Options
When selecting materials for your brooder box, durability should be a top priority to guarantee it withstands daily use and protects your chicks effectively. Opt for sturdy woods like plywood or pine, which offer excellent material durability while being easy to work with.
Avoid flimsy materials that might warp or break quickly. Applying proper construction techniques, such as using screws instead of nails and reinforcing corners with brackets, will improve the box’s strength and longevity.
You can also consider heavy-duty plastic or metal sheets if you want a more weather-resistant option. Remember, the goal is to build a brooder box that stays solid over time, resists wear and tear, and provides a safe, stable environment for your growing chicks.
Safe Non-Toxic Choices
Choosing durable materials is important, but making sure those materials are safe and non-toxic for your chicks is just as essential. Avoid treated wood or materials with harmful chemicals that could affect your chicks’ health.
Instead, opt for untreated plywood or food-grade plastic, which are both safe and easy to clean. Non-toxic paint or sealants can protect the brooder without exposing chicks to toxins.
Your brooder box should also be sturdy enough to withstand predatory threats, keeping your chicks secure during their vulnerable early days. Remember to design the space so feeding schedules are easy to maintain, allowing you quick access to food and water without disturbing the chicks.
Prioritizing safety in materials helps your chicks grow strong and healthy.
Determine Brooder Box Size and Shape
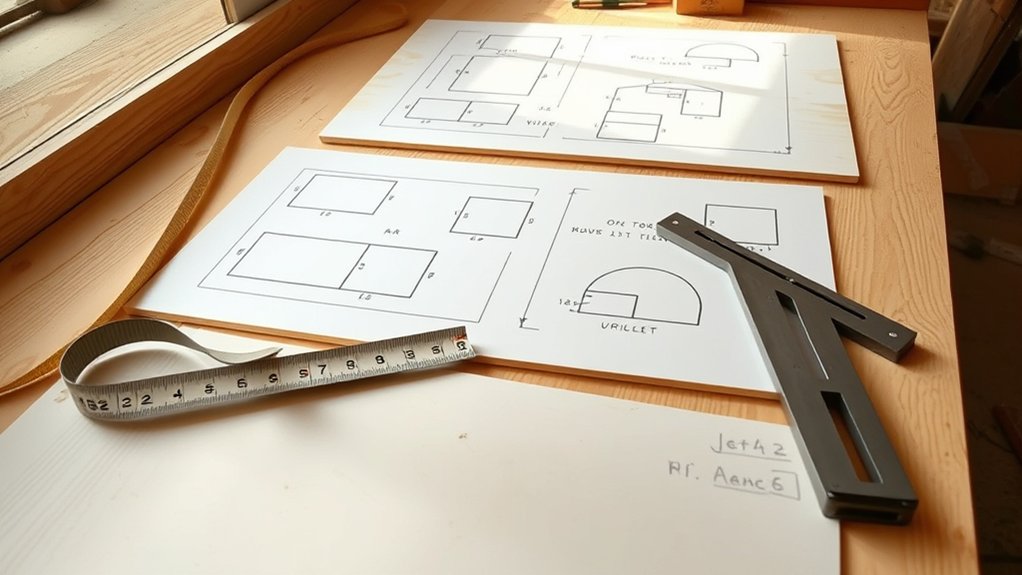
Determining the right size and shape for your brooder box sets the foundation for a healthy and comfortable environment for your chicks. You want enough space so chicks can move freely, avoiding overcrowding that leads to stress and poor growth. A good rule is to allocate about 0.5 square feet per chick during their first few weeks.
Consider a rectangular or square shape, which simplifies feeder placement and ensures chicks can easily access food and water without crowding. Keep brooder temperature in mind when sizing your box. A larger space can make it harder to maintain consistent warmth, so balance size with your ability to regulate heat.
Position feeders away from heat sources to prevent feed from drying out or spoiling. Thoughtful feeder placement also reduces competition and helps maintain a clean, organized environment. By carefully determining size and shape now, you’ll create a brooder box that supports healthy growth and comfort for your chicks.
Build a Sturdy Base and Secure Walls
How do you guarantee your brooder box stays safe and stable for your chicks? Start by building a sturdy base using plywood or thick wooden boards to support weight and resist moisture.
Secure walls with durable materials like pine or plywood, fastening them tightly to the base. This assures predator protection and helps maintain consistent temperature regulation by preventing drafts.
Use strong screws and corner braces to reinforce the structure. A solid foundation prevents wobbling, while secure walls keep out pests and cold air, which is vital for your chicks’ health.
| Material | Purpose | Benefit |
|---|---|---|
| Plywood base | Stability | Moisture resistance |
| Pine walls | Structure | Predator protection |
| Screws & braces | Fastening | Prevents drafts and wobble |
Add Ventilation for Airflow and Lighting for Warmth
Once your brooder box has a solid base and secure walls, it’s important to focus on ventilation and lighting to create a healthy environment. Proper ventilation design guarantees fresh air circulates without causing drafts that chill your chicks.
Ensuring good ventilation and lighting is key to a healthy, comfortable brooder environment for your chicks.
You can add small screened vents near the top and bottom of the box to promote airflow while keeping pests out. Make sure these vents are adjustable or shielded to control airflow depending on the weather.
For lighting placement, use a heat lamp positioned securely above one side of the box to provide warmth, allowing chicks to move to cooler areas as needed. Place the lamp where it won’t touch flammable materials, and avoid hanging it too low to prevent overheating.
Combining a thoughtful ventilation design with strategic lighting placement keeps your brooder box comfortable and safe, supporting your chicks’ growth and well-being.
Install Easy-to-Clean Bedding
Since chicks spend most of their time on the floor, you’ll want to choose bedding that’s both comfortable and easy to clean. Proper bedding supports healthy feeding routines and simplifies maintenance, keeping your brooder box sanitary and cozy.
Here’s how to install effective bedding:
- Select absorbent materials like pine shavings or straw, but avoid cedar since it can harm chicks.
- Spread a 1-2 inch layer evenly across the brooder floor to provide cushion and insulation.
- Replace or spot-clean the bedding regularly, especially after feeding sessions, to prevent buildup of waste and moisture.
Set Up a Safe Heat Source and Food & Water Stations
Where should you place heat, food, and water to keep your chicks comfortable and thriving? Start by positioning your heat source, like a heat lamp or brooder plate, on one side of the box. This lets chicks move closer or farther away, helping them regulate their temperature. Set the temperature around 95°F (35°C) for the first week, then reduce it gradually each week.
Next, place food and water stations on the opposite side of the heat source. This separation encourages movement and prevents crowding, which can lead to stress or illness. Use shallow feeders and waterers to avoid drowning risks. Make sure all stations are secure and slightly elevated to keep bedding out.
Finally, double-check your brooder’s design for predator protection. Strong walls and a secure lid keep chicks safe from curious pets or pests. With these setups, you’ll create a safe, comfortable space where your chicks can grow healthy and happy.
Frequently Asked Questions
How Often Should I Clean the Brooder Box?
You should clean the brooder box at least once a week, but if you notice bedding materials getting damp or soiled sooner, clean it more often. Keeping a consistent feeding schedule helps reduce mess, making cleanup easier.
Spot clean daily to remove droppings and wet spots, which keeps your chicks healthy. Fresh bedding materials are essential each time you clean to maintain a dry, comfortable environment for your chicks.
When Can Chicks Be Moved Out of the Brooder Box?
You’ll know it’s time to move chicks out of the brooder box when they start exploring like little adventurers, showing curiosity and less dependence on the heat source. Their chick behavior signals readiness. They fluff up, eat and drink confidently, and stay comfortably active.
Your brooder design should have prepared them for this shift, ensuring they’ve grown strong and steady. Once they outgrow the warmth and space, it’s time to let them spread their wings.
What Temperature Should the Brooder Box Be Maintained At?
You should maintain the brooder box temperature at about 95°F (35°C) during the first week, then lower it by 5°F each week as chicks grow. Proper temperature regulation is essential to keep them comfortable and healthy.
Use brooder insulation to help retain heat and prevent drafts. Keeping a consistent warm environment guarantees your chicks thrive without stress, so monitor the temperature closely and adjust the heat source as needed.
Can I Use a Heat Lamp Instead of a Heat Plate?
Absolutely, you *can* use a heat lamp instead of a heat plate because who doesn’t love the idea of your chicks roasting under a tiny sun? But seriously, heat lamps provide warmth from above and can create hot spots.
Heat plates offer gentle, even heat from below, mimicking a mother hen. If you choose a heat lamp, make sure it’s securely hung. Also, monitor the temperature closely to keep your chicks cozy without overheating or burning.
How Do I Prevent Mites and Pests in the Brooder Box?
To prevent mites and pests in your brooder box, use natural repellents like diatomaceous earth or neem oil around the edges. These keep pests at bay without harming your chicks.
Also, improve ventilation by adding small vents or mesh windows to reduce moisture buildup, which pests love. Regularly clean the brooder and replace bedding to minimize infestation risks.
Staying proactive with these steps keeps your chicks healthy and comfortable.
Conclusion
Now that you know how to choose materials, build a sturdy base, add ventilation, install bedding, and set up heat and food stations, you’re ready to create a safe, warm, and comfortable home for your chicks. You’ll protect them, nurture them, and watch them thrive.
By following these simple steps, you’ll build not just a brooder box but a foundation for healthy, happy chicks and a rewarding poultry-raising experience. Creating the perfect homemade brooder box sets the stage for your chicks’ success from day one.