DIY Brooder Box for Chicks in 5 Easy Steps
Struggling to find the perfect setup for your baby chicks? You’re not alone. Many new chick owners worry about creating a safe, warm, and comfortable space that helps their little ones thrive. Finding an easy and reliable solution can feel overwhelming, but we’ve got you covered with simple ideas to make brooding a breeze.
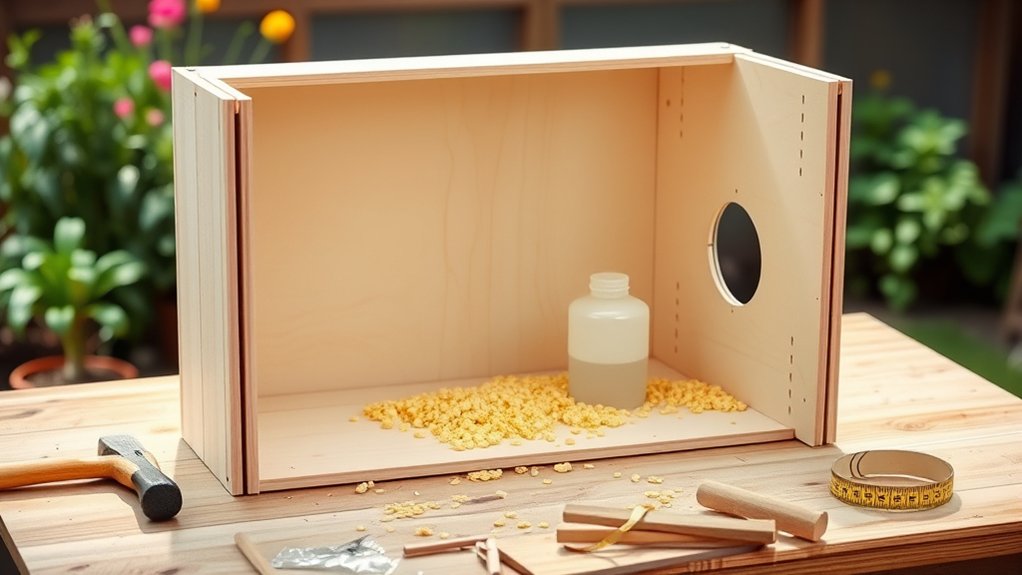
To build a DIY brooder box for your chicks, start by picking a draft-free spot indoors with at least 0.5 sq ft per chick. Gather materials like plywood, a heat lamp, bedding, and chick-safe feeders.
Construct the base and walls securely, adding ventilation for airflow.
Set the heat to about 95°F and use soft pine shavings for bedding, changing it regularly.
Finally, place shallow food and water stations away from heat but within reach.
Keep going to uncover easy tips for a healthy chick environment.
Key Takeaways
- Choose a draft-free, easy-to-clean indoor spot with at least 0.5 sq ft per chick for proper growth and comfort.
- Gather plywood or plastic sheets, a heat source, bedding, and chick-safe food and water containers.
- Cut and assemble the base and walls securely, making sure to include ventilation with mesh-covered openings or vents.
- Install heating to maintain 95°F initially, then gradually lower it each week. Use pine shavings or straw for bedding.
- Set up shallow feeders and waterers away from the heat. Keep them clean and change the water twice daily.
Pick the Best Size and Spot for Your Brooder

Before you build your brooder box, you’ll need to choose the right size and location. The brooder location is crucial because chicks require a warm, draft-free environment. Pick a spot indoors where temperature stays consistent, away from windows or doors that might cause drafts. You also want a place that’s easy to clean and monitor daily.
Next, consider the appropriate dimensions for your brooder. A good rule of thumb is to allow at least 0.5 square feet per chick for the first few weeks. This ensures they have enough space to move around without feeling cramped. As they grow, you’ll need to expand the brooder or provide additional space.
Choosing the right size upfront helps maintain a healthy environment and reduces stress for your chicks. By carefully selecting the brooder location and appropriate dimensions, you set a solid foundation for your chicks’ well-being and growth.
Gather Materials for Your Brooder Box
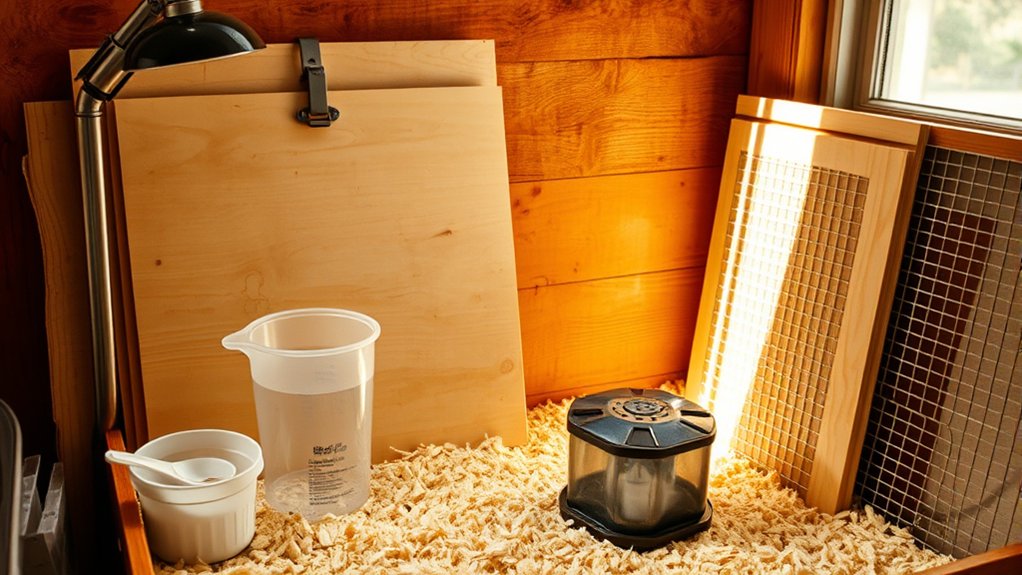
Now that you’ve picked the right size and spot for your brooder, it’s time to gather the materials you’ll need to build it. Having the right supplies guarantees a safe, warm environment essential for your chicks’ development, especially after egg incubation. Remember, proper poultry nutrition starts with a comfortable, stress-free space.
Here’s a simple list to get you started:
- Plywood or plastic sheets for walls and base
- A heat source like a heat lamp or heating plate
- Bedding material such as pine shavings or straw
- Food and water containers designed for chicks
These materials help maintain warmth, ventilation, and cleanliness. Using a sturdy base and walls protects chicks as they grow, while bedding aids in hygiene. Proper heat and easy access to food and water promote healthy poultry nutrition, supporting their growth from fragile hatchlings to strong birds. Gather these essentials before you start building!
Build the Base and Walls Step-by-Step
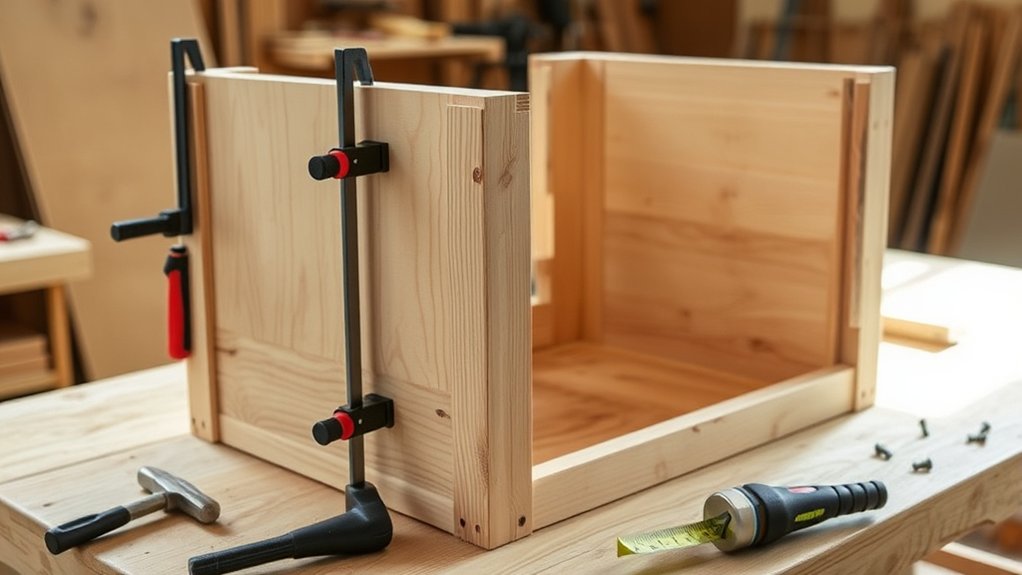
As you begin building your brooder box, focus on creating a sturdy base that will support the walls securely. Start by cutting your chosen material, plywood or plastic, to the desired size. Make sure it’s strong enough to handle the weight and activity of your chicks.
Use screws or nails to fasten the base frame tightly. Prioritize material durability to prevent warping or damage over time.
Next, attach the walls firmly to the base, checking that corners are square for stability. When constructing the walls, add ventilation options like small mesh-covered openings or adjustable vents.
Proper airflow prevents moisture buildup and keeps your chicks comfortable without drafts.
Make sure the materials you use resist moisture and can be cleaned easily. This helps maintain hygiene and prolongs your brooder box’s lifespan.
Add Heating and Bedding to Your Brooder Box
While ensuring proper ventilation is essential, you’ll also need to provide consistent warmth and comfortable bedding to keep your chicks healthy and cozy. Temperature regulation is crucial since chicks can’t control their body heat yet. Use a heat lamp or a brooder plate to maintain a steady temperature around 95°F (35°C) during the first week.
Then, reduce it by 5°F each week.
For bedding options, choose materials that are absorbent, safe, and easy to clean. Here’s a quick guide:
- Use pine shavings or straw for good moisture absorption.
- Avoid cedar shavings, as their strong oils can harm chicks.
- Change bedding regularly to prevent mold and bacteria growth.
- Keep bedding dry to avoid chilling and respiratory issues.
Set Up Food and Water Stations for Healthy Growth
Maintaining a warm, comfortable environment sets the stage for proper feeding and hydration. To promote healthy growth, set up dedicated food and water stations in your brooder box. Use shallow feeders and waterers designed for chicks to prevent drowning and reduce waste.
Place them away from heat sources but within easy reach, so chicks can access them without stress. Stick to consistent feeding schedules to help your chicks develop strong eating habits. Fresh food should be available throughout the day, while water must be changed at least twice daily to guarantee ideal water quality.
Clean water prevents illness and keeps chicks hydrated, especially under heat lamps that can dry them out quickly. Monitor these stations regularly, removing spilled food and changing bedding nearby to maintain cleanliness. By setting up efficient food and water stations, you support your chicks’ growth, health, and overall well-being in their new brooder environment.
Frequently Asked Questions
How Do I Keep Chicks Safe From Predators?
To keep chicks safe from predators, you need predator proofing strategies that include a secure, locked enclosure. Use safe enclosure materials like hardware cloth with small gaps instead of chicken wire, which predators can tear through.
Make sure the brooder box has a sturdy frame and covers all openings tightly. Also, raise the enclosure off the ground to prevent digging predators.
Regularly inspect for any weak spots and reinforce them to keep your chicks protected.
What Signs Indicate Chicks Are Too Hot or Cold?
When chicks feel like they’re in a fiery oven, they’ll spread their wings and pant, trying to cool down. That’s a clear sign they’re too hot. If they huddle together like a tiny snowball, shivering or chirping softly, they’re too cold.
Temperature regulation shows through chick behavior, so watch their movements closely. Adjust heat lamps or ventilation to keep their environment comfy, ensuring they stay happy and healthy.
How Often Should I Clean the Brooder Box?
You should clean the brooder box at least once a day to keep your chicks healthy. Dirty bedding materials can harbor bacteria and make your chicks sick.
Cleaning daily fits well with their feeding schedule since you’ll already be checking on them regularly. If the bedding gets damp or soiled quickly, spot clean more often.
Keeping the brooder clean guarantees a comfortable environment, helping your chicks grow strong and happy.
Can I Use a Heat Lamp Instead of a Heating Plate?
Yes, you can use a heat lamp instead of a heating plate, but keep in mind that about 80% of brooder fires are linked to heat lamp misuse. Prioritize heat lamp safety by securely mounting it and using a proper guard to prevent accidents.
While heat lamps provide effective warmth, consider alternative heating methods like ceramic heaters for safer, consistent heat with less fire risk. Always monitor the temperature closely to keep your chicks comfortable and safe.
When Can Chicks Move Out of the Brooder Box?
You can move your chicks out of the brooder box once they’re fully feathered, usually around 6 weeks old. By then, their chick nutrition needs change, and they can handle cooler temperatures outside the brooder setup.
Make sure they’re eating solid feed and drinking water well. Shift them gradually to avoid stress, and provide a safe, comfortable environment to support their growth and health as they adjust to their new space.
Conclusion
Now that you’ve built your brooder box, you’ve created a cozy nest where your chicks can thrive. Just like a gardener tends to young plants, your careful setup will nurture these little birds into strong, healthy adults.
Keep an eye on their warmth, food, and comfort, and you’ll watch them flourish. Remember, this brooder is more than just a box; it’s the first step in their exciting journey.
Happy raising your chicks with this DIY brooder box!